As someone who has a deep-rooted love for wanderlust and is addicted to travelling, the prospect of living a carefree life out on the road is very exciting.
And I’m not alone: according to the latest statistics, the number of caravans and motorhomes in Britain is expected to increase by more than 50,000 by 2022. That’s a staggering number and is sure to transform the mobile living industry.
The definition and experience of a mobile lifestyle are different for everyone – and you need to plan according to your budget, preferences and the van that you intend to convert into a camper van.
When I started travelling, I took the time to figure out whether the camper life would suit me or not and the preventive steps that I need to take to make the most of my mobile lifestyle.
With experience, I have also realized that what might work for one, might not necessarily be very good advice for someone else with a completely different end goal in mind.
So, whether you are a newly married couple looking forward to beginning your new life with an adventure, a solo traveller looking for some affordable travel options or a freelancer in search of some inspiration – let’s explore the possibilities of converting a van into a fully functional camper van.
Planning And Designing The Van’s Layout
As each person has a unique set of requirements, the transition from a sprinter commercial van to a camper van can be extremely different – but the key to a successful van conversion, however, is space maximisation.
Personally speaking, I try to adopt the multi-tasking approach and use my bed as my couch, and a place to store essentials as well. My kitchen top can easily be converted to a dining table of sorts and even used as a desk when not eating.
Combing the different aspects of a small space into something functional depends on your priorities. The cost of foregoing something to achieve another aspect of comfort is entirely up to you.
Here are some questions you need to ask yourself:
- How many people will be travelling with you in the van? – More people mean more bed space.
- Are you tall or short? – Tall people need more headspace and are also more comfortable with longitudinal sleeping spaces rather than crosswise beds.
- Do you want natural lighting to fill your space? – You might need to install some on your own and prevent the use of furniture that might block natural light.
- Are you aware of basic carpentry hacks? You need not be an expert carpenter to get through the van conversion process, but you certainly need to know how to work with basic tools.
- What will be your dining options? – If you plan to take up cooking, you’ll need to have a proper functional setup for a kitchen with a fridge, stove, counter, sink and water tank.
The van’s look and feel also goes hand in hand with the layout that you have in mind. Once you have the essentials sorted, moulding the space to complement your aesthetic sense will be fairly simple.
Depending on the items you use and how you use them, you will see your van transform into an ideal camper van.
You should also check in with government requirements and guidelines to ensure whether your vehicle is fit to be converted into a camper van or not.
Preparing Your Van
Before you actually get down to making substantial changes in your van, you need to set the stage. Here is what you need to do:
Do Away With Pre-Existing Fixtures
Depending on the van you choose to revamp, you need to get rid of pre-installed items that are of no use to you.
De-clutter the space and even remove floor-mats, runners, shelves or seats that will hinder your plans to transform your van into a comfortable, liveable space.
Carry Out A Cleaning Spree
Vans are most likely to have a build-up of grime, dirt and dust especially if they are second hand. Before you set down to installing new things for your camper van, you should:
- Use a shop vac, hand broom and small scraper to get rid of dirt
- Look for any surface rust and grind it off using an angle grinder and wire brush attachment
- Deep clean, sweep, scrub and vacuum the space
- Cover any exposed metal with anti-rust paint. The second coat of glossy white paint will provide a finished look to your space
- Re-install the front seats and floor mats
Insulation
For your camper van to withstand all kinds of weather, it is important that you properly insulate it. It may be a time-consuming and labour-intensive task, but it is definitely worth the effort and time.
Remember that you are insulating your van against two major forms of heat transfer – radiation and conduction.
Some common qualities to look for when choosing the right insulation material for your camper van include:
- High R-value per inch keeping space considerations in mind
- Vibration resistant for all kinds of adventure
- Ability to resist mould, mildew and moisture
- Non-toxic properties
Here’s how you can insulate your van:
Make Use Of Reflectix To Fit Walls
The first step is to get a hold of Reflectix – this is an insulation material that is basically in the form of a sheet of bubble wrap covered in reflective foil.
I use this to cover the walls of my camper van in a way that it is precisely cut to the section that needs to be covered.
Then, hold it in place with duct tape while you figure out where to cut off the excess along the curves and edges. I suggest using a heavy-duty spray adhesive to permanently glue the reflectix to the wall.
Insulating The Ceiling
Insulating the ceiling is extremely important, especially for colder climates.
A thicker layer of insulation is usually preferred if you can compromise on your headspace.
The process to insulate the ceiling with reflectix is the same as for the walls – you can, however, make use of Tyvek tape to hold the insulation material in place.
Insulating The Floor
Insulating the floor is totally up to you, as most people prefer to skip this step.
If you decide to opt for floor insulation, just get plywood to strike the balance between functionality and aesthetic appeal.
Rigid Foam Panelling
On top of the reflectix covering, attach a foam panel as is often recommended. Since the foam board is light in weight, it can easily be attached and be precisely cut to size using a box cutter.
The purpose of rigid foam panelling is to cover the ceiling and upper panels, and any pop-out windows that your camper van has.
Other forms of insulation for your camper van include:
- Yellow Spray Foam
- Fiberglass Insulation
- Thinsulate Insulation
Fill In The Gaps, Cracks, And Crevices
Make sure that you do not leave any loopholes – and by that, I mean literal ones! Spray foam into any cracks or crevices and avoid using the “Big Gap Filler” that later expands and oozes out of the gaps – this just creates an unnecessary mess.
A clean way to filling the gaps with foam is to fill in a half or one-third of the way, and let it dry. You can fill in the remaining space after to avoid creating a mess.
Ceiling
Like a roof over your head – the ceiling and fan installation is a crucial part of getting the conversion process right.
Here are a few steps that you can follow for a reliable and sustainable ceiling setup:
- Prepare/collect the panelling material which you will use to cover the ceiling
- Plywood is a common choice; you can also add a personalized flair to your space with the help of recycled materials.
- Measure the length of your van’s roof and estimate the number of plywood sheets required
- Align the seams of the plywood pieces with the roof’s support braces
- Cut, mark and stain the plywood before securing it in place
Note: while riveting the plywood to the ceiling, make sure you do not drill the pilot holes through the ceiling of the van
Fan Installation
Ventilation is an important aspect of maintaining a comfortable temperature inside your van.
For this, the hardest part is where you have cut a hole through the roof of your camper van. You don’t want to mess up the measurements and end up wondering what to do next.
Be very careful when determining the centre of your van’s roof and marking where you want the fan to be installed.
Drill a hole on either sides of the circle and use it as a guide to cut the perfect hole through the roof. Ensure that the blade length is able to penetrate the metal roof of the van, the insulating material and the plywood ceiling that you have installed.
With the major part of the work done, you can finally screw your fan in place.
Walls
At this stage, we have only insulated the walls and other carpentry work still needs to be done. Here’s what you should do with your van’s walls:
- Cut the plywood walls keeping in mind the special cuts for the curve at the back of your van and the curves around the wheel wellsSecure the plywood in place using braces
- Use cardboard spacers to construct a perfectly aligned perpendicular wall
- Fill in the gaps with sand or any preferred filling material of your choice
- Cut and fasten the metal sheets to cover any pop-out windows in your van
Flooring
Since flooring is the base on which your entire setup will rest, it is important that you give it the due attention that it needs.
Let me walk you through a few quick steps to help you prepare your camper van’s floor:
- Use a floor template to cut the plywood for your subfloor
- Secure the subfloor in place with the help of screws
- Fill in any holes with a fine sandpaper grit or caulk to ensure uniform levelling
Remember, the sub-floor is above the main floor, which is then covered by insulation and finally layered with a sound deadener (which is optional).
Electrical And Solar Setup
Here’s what you can do to install a sustainable setup for your camper van’s electrical and solar needs.
- Research sturdy roof racks and select one that offers quality at an economical price
- Install the solar panel using the mounting hardware and instructions that come with it
- Run the solar panel wiring through the inside of the roof by drilling a hole just below the roof’s rain gutter
Remember, you need to create a watertight seal by securing the wire in place with caulk around it.
- Create a wiring network for the lights and dimmer as well
- You can hook up one or more wires together to create a single cable by heat shrinking them
The Living Space – Bed And Kitchen
After the framework has been laid down and the technical aspects are taken care of, depending on your preferences and the size of the space – you can optimize your living space.
- Lay down the base of the bed; Remember the plywood walls that you set up with spaces for wheel wells? This will help you determine the height of your bed
- Secure the base with the help of braces to the wheels well boxes
- Install pneumatic locks and bed hinges to set up a foldable bed
- Any vacant walls can be utilized for installing kitchen shelves and wall cabinets
- Customize the size of the cabinet doors and secure them in place with magnets and hinges
There’s a lot you can do with your living space to turn it into a cosy and functional space so you can spend long periods of time on the road.
Finishing Touches
Adding these finishing touches to your camper van will make all your hard work feel worth it.
- Painting the inner and outer parts of the camper van requires a lot of patience and creativity. Use the taping technique to secure parts of the van that you don’t want to be painted.
- To ensure uniformity, you can use the same panelling for kitchen doors and cabinets as you did for the ceiling.
- To keep your space well-lit, try experimenting with lighting shelves – these basically run along the length of the ceiling. Install LED lights to brighten up your interior.
- Magnetic blackout curtains are a great option to adjust the lighting as and when needed. Sew them as per the window size for a better fit.
- Divide the driving area from the rest of the camper van by installing a curtain rod. You could add in a splash of colours by choosing a vibrant curtain.
I hope this step-by-step guide will help you to revamp and convert your van into a camper van and embark on the journey of a lifetime.
And don’t forget to prioritize your comfort over everything and plan the layout of your van in a way that makes the best use of space.

 Ford Fiesta van photo credit | Ford Transit courier van photo credit
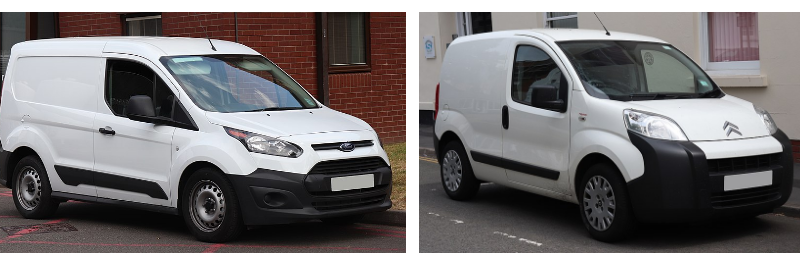 Ford Transit Connect van photo credit | Citroen Nemo photo credit
 Peugeot Partner photo credit | VW Caddy photo credit
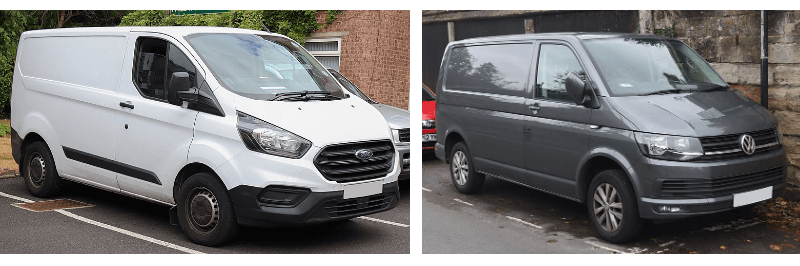 Ford Transit photo credit / VW T6 photo credit
 Nissan electric van photo credit